The Best Fudge With Marshmallow Recipe
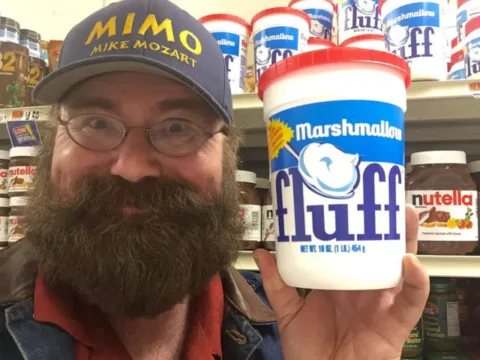
Marshmallow Fluff Never-Fail Fudge has always been a hit in my home.
It probably helps that Marshmallow Fluff is a New England tradition that my mom, born in the southern Boston area, carried into my family’s Florida home. And I’m so thankful!
Have no idea what all the fuss over Marshmallow Fluff is?
Well, before I start sharing my favorite fudge with marshmallow recipe, let’s take a trip to New England and see what makes this wicked good marshmallow cream so, well… wicked good!
Nuthin’ But The Fluff
Fluff marshmallow cream was first sold in 1920 by two World War I veterans named H. Allen Durkee and Fred L Mower:
- They bought the Marshmallow Fluff recipe for $500 from a man named Archibald Query, who invented it in 1917 but had a difficult time getting his sugar-based confection off the ground during an era of wartime rations.
- Durkee and Mower built a very successful door-to-door business selling their Marshmallow Fluff throughout New England, and by 1927 were advertising their delicious white cream in Boston newspapers.
- The popularity of their brand spread in the 1930s as Marshmallow Fluff ads took to the radio and promotional efforts reached hundreds of thousands of homes.
- When Durkee-Mower joined forces with Nestle in 1956, the brand became a nationwide hit.
- As the 1950s rolled on, the delicious, easy-to-make Marshmallow Fluff Never-Fail Fudge recipe was printed in magazines such as Ladies Home Journal.
- The Fluff fudge recipe combined the famous marshmallow cream and Nestle’s chocolate bits, lifting sales for both halves of that delectable dynamic duo.
- The family of Marshmallow Fluff recipes grew in 1966 when the Rice Krispies Marshmallow Treat recipe was first published. The simple, delicious Rice Krispies marshmallow bars were an instant hit — and it’s still popular all these years later.
But what makes Marshmallow Fluff stand a puff above the other marshmallow creams you’ll probably find in your local grocer’s sugar aisle?
Durkee-Mower says they use a “batch-whipping process,” which they claim is the only marshmallow cream still made that way. Batch-whipping makes a smooth, fluffy product that is as fun to look at as it is to eat.
Fellow natural food fans like me will also be glad to know Marshmallow Fluff contains no artificial preservatives!
The Marshmallow Fluff Never Fail Fudge Recipe
There are too many tasty Marshmallow Fluff recipes around these days to count. But I can easily tell you which is my favorite: Marshmallow Fluff Never-Fail Fudge.
I don’t consider myself a chef by any stretch of the imagination, but I can tell you that Never-Fail Fudge is about as easy to make as its name would suggest.
Almost as easy, that is. You see, I’ve made a few blunders over the years making this fudge with marshmallow fluff. I blame it not on the fudge recipe but rather on my being loosey-goosey with the preparation process. (You can see the tips & tricks that resulted from my previous “fails” below.)
The Fluff fudge recipe is really simple, and it requires a short list of ingredients — many of which you probably already have in your kitchen.
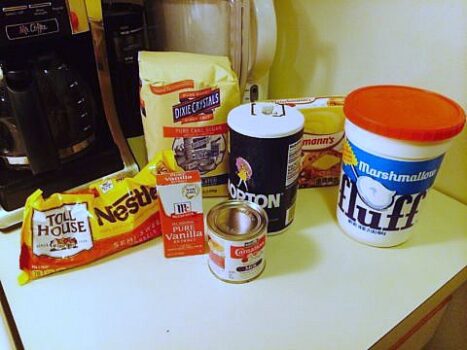
Here’s what you need to make a tasty batch of Never-Fail Fudge:
- 7-1/2-ounce jar of Marshmallow Fluff
- 2-1/2 cups of sugar
- 1/4 cup of butter or margarine (I say go for the butter!)
- 5 ounces of evaporated milk
- 1/4 teaspoon salt
- 3/4 teaspoon of vanilla
- 12 ounces of semi-sweet chocolate pieces
- Optional: chopped walnuts or other flavorful additions
These are the step-by-step instructions to make Never-Fail Fudge:
- Combine the first 5 ingredients in a large pot over LOW heat. (I use a 3-quart pot.)
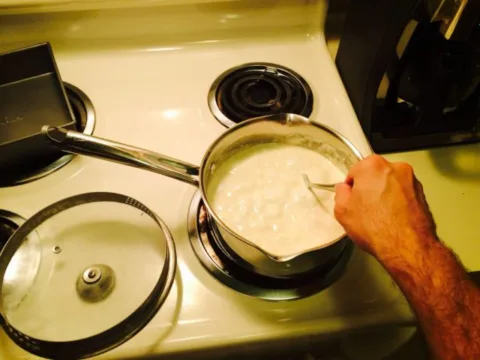
- Stir until everything is well blended.
- Turn the heat up to MEDIUM-HIGH, and let it boil for about 5 minutes. (Candy experts would tell you to let the fudge mixture get to the soft ball stage, but at this point I’m not that culinarily attuned!)
- Remove the pot from heat and immediately add the vanilla, chocolate bits, and chopped walnuts (and any other tasty modifications you desire).
- Blend everything together thoroughly.
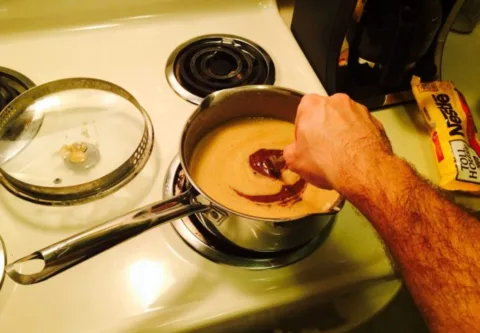
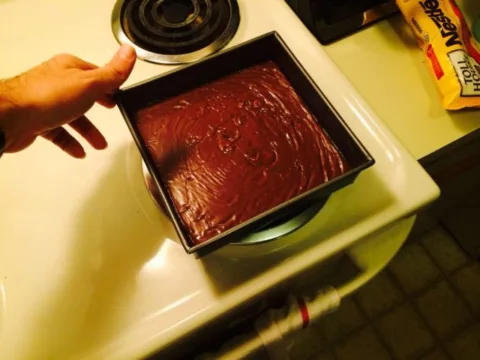
- Pour the entire mixture from the cooking pot into whatever baking pan or dish you wish to serve from.
- Let the fudge cool in the pan at room temperature for at least 2 hours. (Or, let it cool for 45 minutes to 1 hour inside the refrigerator.)
- Cut into slices, and enjoy!
4 Tips For The Tastiest Marshmallow Fluff Fudge
I’ve made Never-Fail Fudge so many times now — it’s a family favorite.
I’ve also learned some helpful tips and tricks along the way.
Here are 4 helpful tips that I’ve learned from trial and error:
- When the recipe says you should be “stirring constantly,” they aren’t joking! One time, I left the boiling pre-chocolate fudge mixture unattended in the pot for about 15 seconds to answer a phone call. By the time I came back, I could already smell that familiar odor of caramelizing sugar. Sure enough… I scalded the mixture and it had an irreversible burnt flavor.
- I used to go a little over-the-top with adding the vanilla. If a recipe called for a teaspoon of vanilla, I would add a teaspoon and a third — or a teaspoon and a half. I once added a bit too much vanilla to a batch of Marshmallow Fluff Fudge. As you can guess, it tasted like it was spiked with alcohol! The fudge tasted way off and I didn’t even want to touch the rest of that batch.
- Make sure the chocolate bits are well stirred — because you don’t want to leave chunks behind. You’ll want to avoid streaking of the chocolate, too. One time I got impatient stirring the chocolate fudge mix, and the chocolate fudge set up unevenly in the pan. This affected the texture and flavor of the fudge. It was a total loss.
- Some people grease their fudge pans. Others use wax paper. I prefer buttering the pan simply because it’s a little cheaper and it eliminates the risk of wax paper chemicals leaching into the fudge.


